
The Ecuador Data Dilemma: eSIM vs. Local SIM
Let's be real, you're not going to Ecuador to stare at your phone. But you're also not going to be caught without Google Maps when you're trying to find that one specific empanada stall in Quito's La Mariscal district, or when you need to book a last-minute hostel in Montañita. This isn't 1998, folks. Connectivity is a budget line item, and you need to treat it as such.
For my recent 18-day slow-travel stint through Ecuador, I budgeted €48 for data. That's it. For me, that translated to a 15GB multi-country eSIM plan. Why multi-country for just Ecuador? Because I'm always looking for the best per-GB rate, and sometimes those regional plans hit the sweet spot, even if I'm only using a fraction of the covered countries. Plus, I was crossing into Peru, so it was a no-brainer.
The alternative, of course, is a local SIM. We'll get into the nitty-gritty of Claro and Movistar later, but the short version is: it's a hassle. Time is money, and spending an hour at a dingy phone shop in Guayaquil trying to explain you just want data, not a contract, is time you could be spending haggling for a better price on a ceviche or figuring out the bus to Olón. For the true budget backpacker, every minute counts, especially when you're trying to keep your daily spend under €40.
My Ecuador Itinerary: Cloud Forest to Coast, 18 Days
My trip was a classic Ecuador slow-travel circuit, designed to hit both the misty heights and the sun-drenched shores. Here's a quick breakdown:
- Quito (4 days): Arrived, explored the historic center, took the TelefériQo, and got my bearings. Data was essential for navigation and researching bus routes from Terminal Quitumbe.
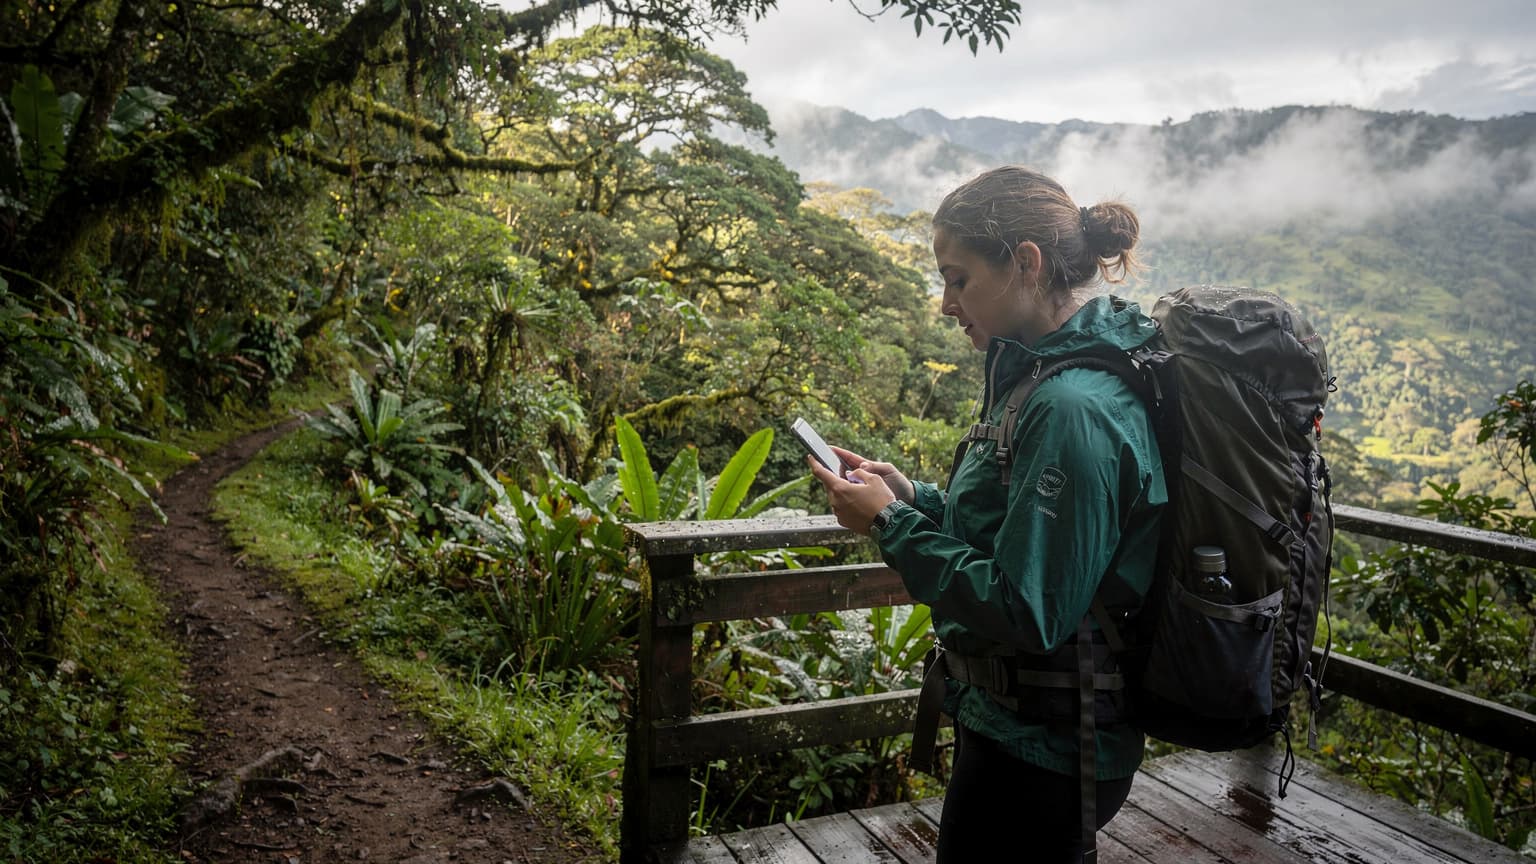
- Mindo Cloud Forest (3 days): Bus from Quito. Here, data was surprisingly good, even deep in the forest. Crucial for booking ziplining tours and checking reviews for local chocolate tours.
- Bañera (3 days): Adventure capital. Used data for WhatsApp calls back home and coordinating with fellow hostel-mates for canyoning trips.
- Guayaquil (2 days): A necessary transit hub. Data here was mostly for navigating the city, finding my hostel in Urdesa, and booking my bus to Montañita.
- Montañita (6 days): Beach time! Data was surprisingly critical for checking surf reports, coordinating with friends, and finding the best happy hour deals.
Total time: 18 days. Total data spent: 15GB. Total cost: €48. That's about €2.67 per day for data, which is pretty solid when you factor in the convenience.
Crunching the Numbers: My Data Usage in Ecuador
Let's break down how that 15GB actually disappeared. Because if you're like me, you track every byte. My daily average was around 0.83GB. Here's what that typically looked like:
- Navigation (Google Maps, Waze): ~100-150MB/day, especially on bus trips between cities.
- Communication (WhatsApp, Signal): ~50-100MB/day for messages, occasional voice notes.
- Social Media (Instagram, TikTok): ~200-300MB/day. Yes, even budget backpackers need to share their epic views.
- Research & Booking (Hostelworld, Busbud, Google): ~150-200MB/day for finding hostels, checking bus schedules, and general travel info.
- Streaming (Spotify, YouTube for background music/podcasts): ~100-150MB/day. This is where you can really burn through data if you're not careful. I mostly stuck to downloaded content.
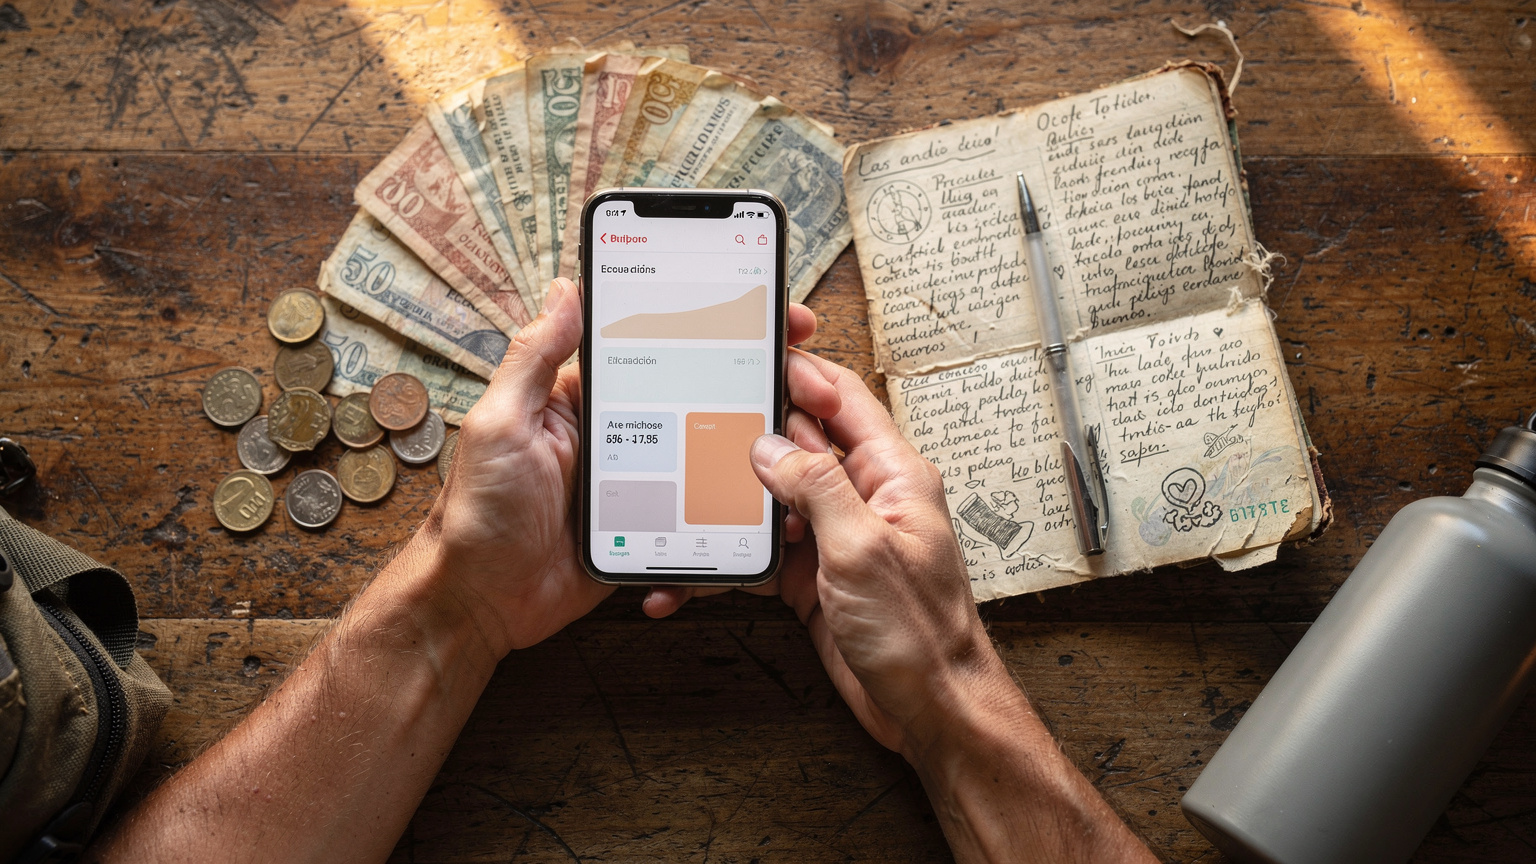
So, 0.83GB/day multiplied by 18 days equals roughly 14.94GB. That 15GB plan was perfect. If you're a heavier user, streaming more video or spending more time on video calls, you'd need to scale up. Always overestimate your data needs slightly, it's cheaper to have too much than to run out and have to buy a top-up at a higher per-GB rate.
Why a Multi-Country eSIM is the Budget Backpacker's Friend
Look, I'm not going to tell you an eSIM is always the cheapest option. Sometimes, a local SIM will beat it, especially if you're staying in one country for months. But for the kind of slow travel I do, where I'm hopping countries every few weeks or even just exploring diverse regions within one country (like Ecuador's coast and cloud forest), the multi-country eSIM is a lifesaver.
Here's why:
- No SIM Swapping Hassle: This is huge. Imagine arriving in Mindo, then heading to Montañita. If you're buying local SIMs, that's two separate trips to a phone store, two different registration processes (which can be a pain in Ecuador with ID requirements), and two potential language barriers. With an eSIM, you activate it once, and you're good to go.
- Predictable Costs: You know exactly what you're paying upfront. No hidden fees, no confusing top-up structures. My €48 for 15GB was fixed. Local SIMs can be opaque, especially if you're not fluent in Spanish.
- Instant Activation: Land at Quito's Mariscal Sucre International Airport (UIO), connect to the airport Wi-Fi, activate your eSIM, and you're online before you even clear customs. No waiting, no searching for a kiosk. This is a game-changer when you're tired and just want to get to your hostel.
- Multi-Country Benefits: Even if you're just in Ecuador, these plans often offer better value per GB simply because they cover a larger region. And if you're like me, planning to cross the border into Peru or Colombia, it means you don't need a new SIM for each country. I used the same data plan when I eventually crossed the Aguas Verdes/Tumbes border into Peru, which was glorious.
For anyone serious about maintaining reliable connectivity across various landscapes and borders, an eSIM is a tactical advantage.
Navigating Ecuador's Borders: eSIM for Seamless Transitions
This is where the multi-country eSIM really shines for the intrepid traveler. Picture this: you've spent weeks exploring Ecuador, from the heights of Chimborazo to the depths of the Amazon basin, and now you're heading south to Peru. The thought of losing data at the border, then having to find a local SIM in Tumbes or Piura, is enough to give any budget backpacker a headache.
I've done it the old way, trust me. Crossing from Colombia into Ecuador at Rumichaca, I spent an entire morning trying to get a SIM card working in Ipiales, Colombia, then another hour at the border trying to use it before realizing it was useless in Ecuador. Never again. With an eSIM that covers both Ecuador and Peru (or Colombia), your phone just seamlessly switches networks. You literally don't notice it.
My experience at the Aguas Verdes/Tumbes border crossing was buttery smooth. As soon as my bus pulled away from the border control, my phone registered with a Peruvian network, and I had data. No fuss, no wasted time. This kind of uninterrupted connectivity is invaluable for:
- Real-time navigation: Essential for figuring out the next leg of your journey from the border town.
- Emergency contact: Knowing you can call or message if something goes sideways.
- Booking onward travel: Snagging that cheap night bus ticket before it sells out. (Always check travel advisories for night buses, though, depending on the country.)
| Scenario | Local SIM | Multi-Country eSIM |
|---|---|---|
| Border Crossing | Requires new SIM purchase in new country, potential loss of service | Seamless network switch, continuous service |
| Activation Time | Can take 30-60 minutes at a store, plus registration | 5-10 minutes online, immediate activation |
| Cost Predictability | Varies by local promotions, can be opaque | Fixed upfront cost, clear data limits |
| Convenience | Requires physical SIM swap, potential language barrier | No physical handling, digital setup |
The Physical SIM Alternative: Claro and Movistar
Alright, fair's fair. What if you're sticking to just Ecuador for, say, two months, and you're really trying to pinch every centavo? Then a local SIM might, emphasis on *might*, be cheaper. Ecuador's main players are Claro and Movistar. CNT also exists but generally has less coverage, especially outside major cities. (Trust me, you don't want to be caught without data in the middle of nowhere near Cotopaxi.)
Claro Ecuador:
- Coverage: Generally considered the best, especially in rural areas and along major transport routes. If you're headed to more remote cloud forest lodges or lesser-known beach towns, Claro is your safest bet.
- Plans: They offer various prepago (prepaid) plans. You can usually get a SIM for about $3-5 USD, then top up with data packages. For example, a 3GB package for 15 days might cost $5-7 USD. A 10GB package for 30 days might run you $15-20 USD.
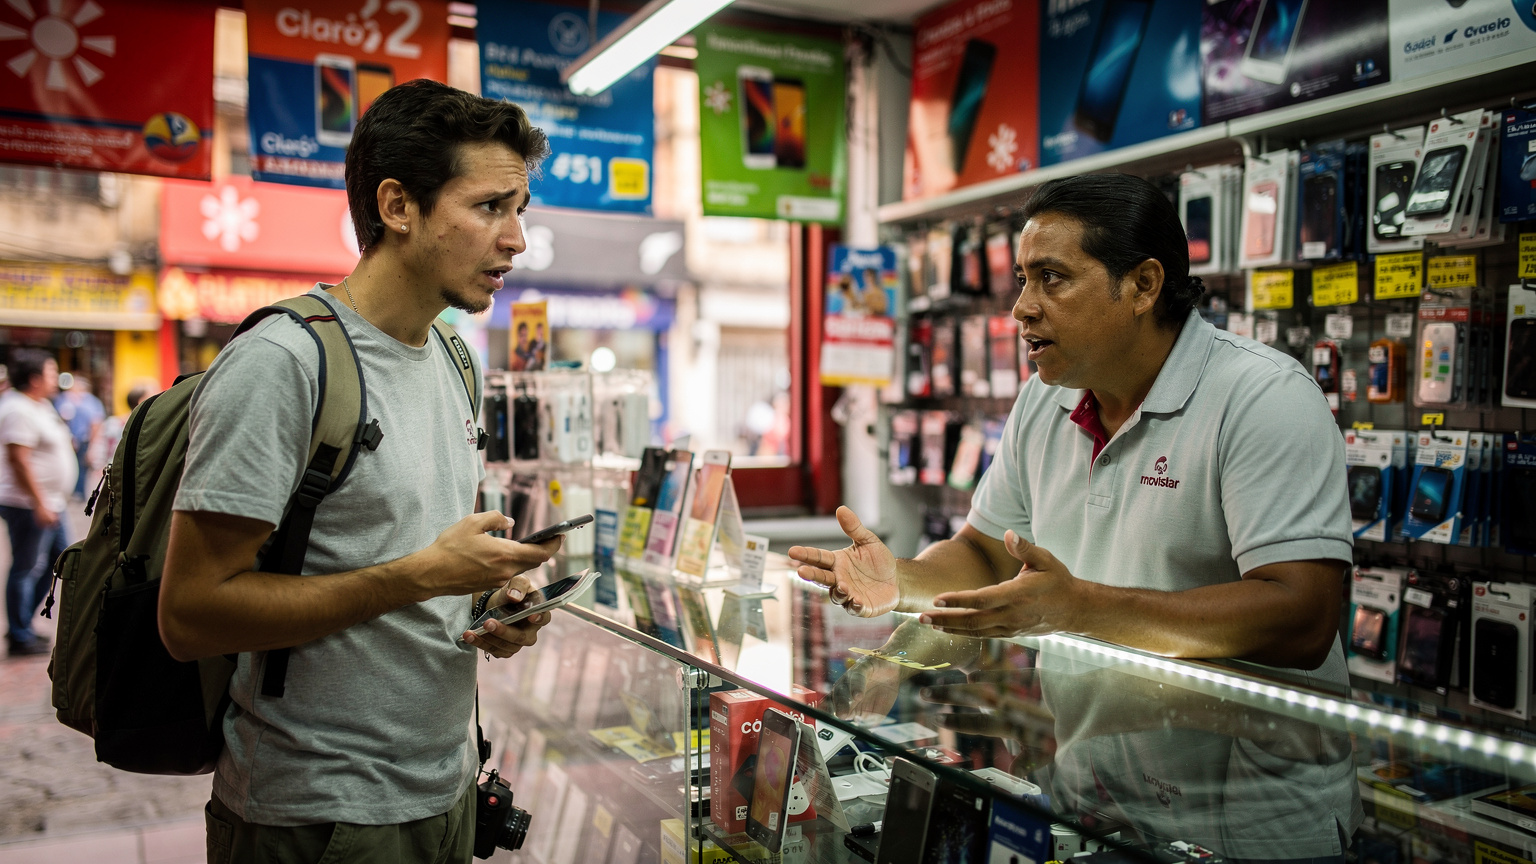
- Where to Buy: Claro stores are ubiquitous in cities like Quito, Guayaquil, Cuenca. You'll need your passport for registration. Sometimes smaller kiosks will sell SIMs, but registration can be tricky.
Movistar Ecuador:
- Coverage: Decent in urban areas, but can be spottier than Claro in very remote regions. I found it perfectly acceptable in Quito and Montañita, but struggled a bit on a bus ride through a less-developed part of the Oriente.
- Plans: Similar prepaid options to Claro. Prices are competitive.
- Where to Buy: Movistar stores are also easy to find in major cities. Again, passport required.
The Catch: The biggest hurdle is registration. Ecuadorian law requires SIM cards to be registered to an ID. For tourists, this means your passport. It can be a slow process, involving photocopies and sometimes waiting in line. And then, once you're set up, if you need more data, you have to find a top-up point, which are usually small shops or pharmacies. Not a huge deal, but it adds friction. Compare this to an eSIM, which you can manage from your phone in bed at your hostel. For my money, the convenience factor alone usually outweighs the slight price difference, especially for shorter trips or when crossing borders.
Getting Connected: Activating Your Ecuador eSIM
Setting up an eSIM is ridiculously simple, which is why I prefer it over the physical SIM dance. Here's my typical workflow, perfected over dozens of borders:
- Purchase Your eSIM Plan: Before you even leave home (or at least before you land). I usually buy a multi-country plan that covers Ecuador and any neighboring countries I might pass through. Check the data allowance carefully, and always round up if you're unsure. You can find these plans on the provider's website, for instance, by visiting the Ecuador eSIM page.
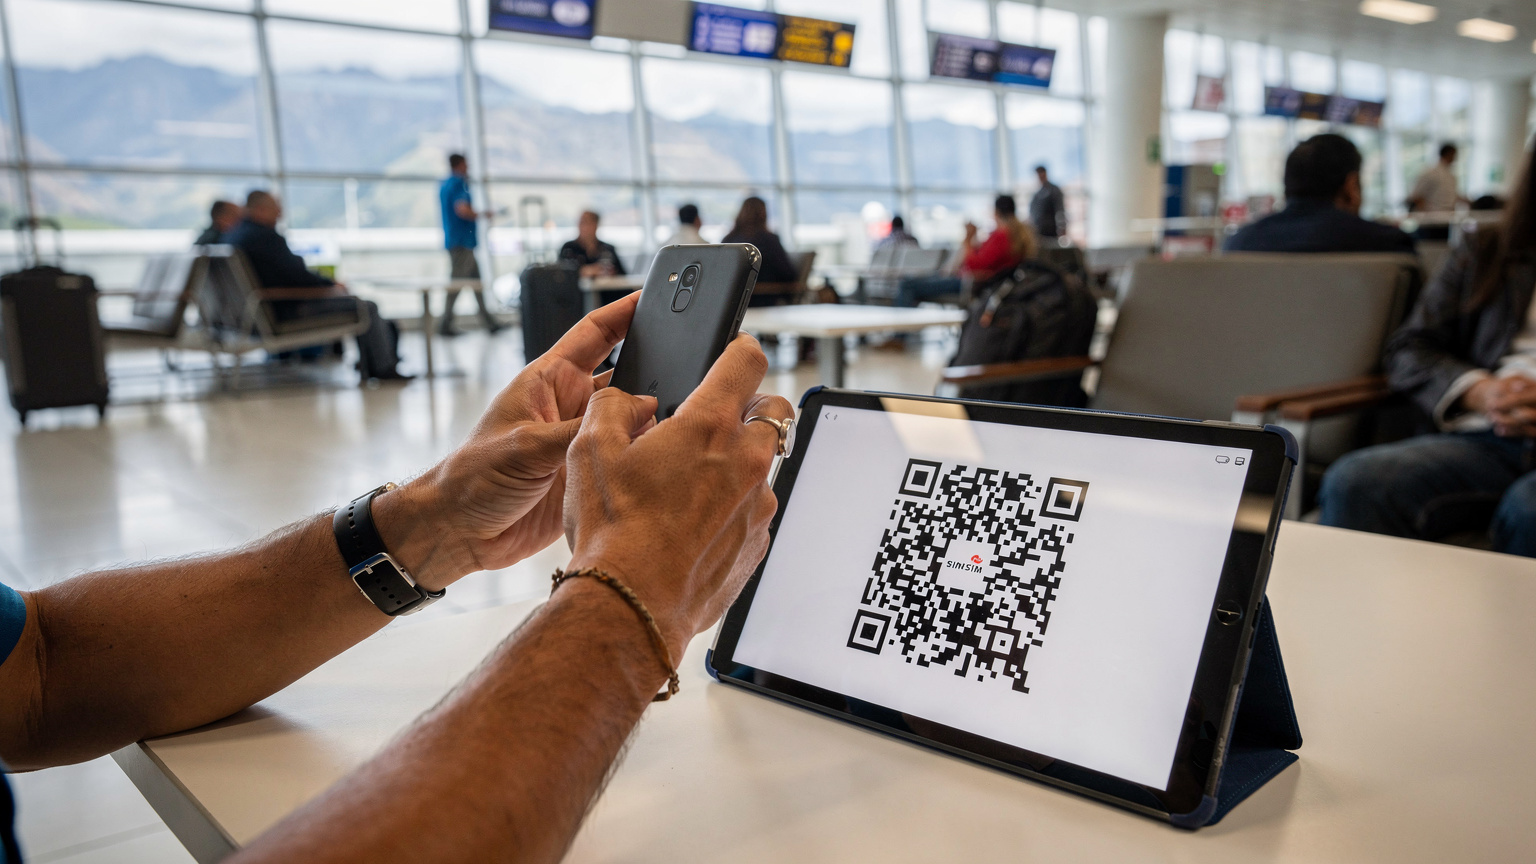
- Receive Your QR Code/Activation Details: This will come via email. Don't print it. Just save it to your photos or another device.
- Connect to Wi-Fi Upon Arrival: At Quito airport, or your hostel. You need an internet connection to download the eSIM profile.
- Install the eSIM:
- For iPhone users: Go to Settings > Cellular (or Mobile Data) > Add eSIM. You'll usually have the option to "Use QR Code". Scan the QR code from your email (displayed on another device or saved image). Follow the prompts.
- For Android users: Go to Settings > Network & Internet > SIMs (or Mobile Network) > Add eSIM (or Download a SIM). Scan the QR code.
- Activate Data Roaming for the eSIM: Once installed, make sure your new eSIM profile is selected for mobile data, and crucially, enable data roaming for *that specific eSIM*. This is often where people mess up, leaving their home SIM active for roaming, which will cost a fortune.
- Disable Your Primary SIM's Data Roaming: Double-check that your home SIM's data roaming is OFF. You don't want any surprise bills.
- Test It Out: Open a browser, send a WhatsApp message. Make sure you're connected. If not, try restarting your phone.
Maximizing Your Data: Tips for Slow Travelers
Even with a generous eSIM plan, a budget backpacker knows that every MB counts. Especially when you're off-grid in the cloud forest or trying to stretch your data until your next top-up. Here's how I make my data last:
- Download Offline Maps: Before you head out, download the relevant regions in Google Maps. This is a no-brainer for navigation and saves tons of data.
- Pre-Download Entertainment: Spotify playlists, Netflix shows, podcasts. Download them over Wi-Fi at your hostel. Don't stream on the bus unless absolutely necessary. (This is a good rule for avoiding unexpected data charges in any country.)
- Use Wi-Fi Whenever Possible: Hostels, cafes, restaurants. Always hop on the Wi-Fi. Many Ecuadorian hostels, even budget ones, have surprisingly decent Wi-Fi.
- Data Saver Mode: Most smartphones have a data saver mode that restricts background app refreshes. Turn it on. It makes a huge difference.
- Monitor Usage: Regularly check your phone's data usage settings. On Android, it's usually in Settings > Network & Internet > Mobile Network. On iPhone, Settings > Cellular. Knowing which apps are data hogs helps you cut back.
- Turn Off Auto-Updates: Make sure app updates are set to Wi-Fi only. You don't want a 500MB app update eating your data while you're trying to find a bus.
- Compress Images/Videos: If you're sending photos or videos via WhatsApp, select the option to send in lower quality.
When to Consider a Local SIM Instead
While I'm a huge proponent of eSIMs for slow travel and multi-country trips, there are specific scenarios where a local physical SIM card might make more sense. You need to weigh the convenience against the potential (often minor) cost savings and hassle.
Consider a local SIM if:
- You're Staying in Ecuador for an Extended Period (2+ months): If you're truly embedding yourself in one place, like learning Spanish in Cuenca for three months, a local contract or a long-term prepaid package from Claro or Movistar might offer a better per-GB rate. These often come with local calls and SMS bundles that an eSIM might not.
- You're a Very Heavy Data User: We're talking 50GB+ a month. While some eSIM plans offer large data packages, local providers sometimes have better unlimited (or near-unlimited) options, though truly unlimited international data is often a myth vs. reality scenario.
- You Don't Own an eSIM-Compatible Phone: This is a fundamental one. If your phone is older and doesn't support eSIM technology, then a physical SIM is your only option. (Though, seriously, it might be time for an upgrade if you're traveling like this.)
- You Prefer Local Customer Service: Some people prefer being able to walk into a physical store and speak to someone in person if they have an issue. While eSIM providers have online support, it's not the same as a face-to-face interaction, especially if you're not comfortable with digital-only support.
Even in these cases, I'd still recommend getting a small, short-term eSIM for your arrival. That way, you're connected from the moment you land, and you can take your time researching and setting up your long-term local SIM without any pressure.
Final Thoughts: Ecuador, Connectivity, and the Backpacker's Budget
Ecuador is an incredible country for slow travel, offering everything from misty cloud forests to vibrant coastal towns. Whether you're exploring the markets of Otavalo, hiking in the Andes, or surfing in Montañita, staying connected simplifies things dramatically. My 18-day trip, costing me €48 for 15GB of data, proved that smart planning with an eSIM keeps your budget in check while giving you the freedom to explore.
Don't fall for the trap of thinking local SIMs are always cheaper. The true cost isn't just the price tag, but the time and hassle saved. For the savvy backpacker, that's invaluable. Focus on experiencing Ecuador, not on navigating confusing data plans. Happy travels.
Frequently Asked Questions
How much data do I really need for a two-week trip to Ecuador?
For a two-week slow travel trip, around 10-15GB should be sufficient for most backpackers. This covers daily navigation, messaging, light social media, and research. Heavy streamers or those using video calls frequently should consider 20GB or more.
Can I use an eSIM in remote areas like the Mindo Cloud Forest?
Yes, major eSIM providers often partner with local networks like Claro, which generally offer good coverage even in semi-remote areas like Mindo. However, truly off-grid locations will still have limited signal, regardless of your SIM type.
What's the main benefit of a multi-country eSIM if I'm only visiting Ecuador?
Even if only visiting Ecuador, a multi-country eSIM can offer more competitive per-GB rates due to economies of scale. Additionally, it provides flexibility if your travel plans change and you decide to cross into a neighboring country like Peru or Colombia, avoiding the need for a new SIM.
Is it difficult to activate an eSIM in Ecuador?
No, activating an eSIM is very straightforward. You typically scan a QR code provided by the vendor, and the profile installs on your phone. This usually takes less than 10 minutes and requires a Wi-Fi connection, which you can find at the airport or your accommodation.
How do local SIM prices compare to eSIMs for Ecuador?
Local SIMs from Claro or Movistar typically cost $3-5 for the SIM itself, plus data packages ranging from $5-20 USD for 3-10GB over 15-30 days. While potentially slightly cheaper per GB for very long stays, the added hassle of purchase, registration, and top-ups often makes an eSIM a better value for convenience and time saved.
What should I do if my eSIM isn't working after activation?
First, ensure data roaming is enabled for your eSIM profile and disabled for your home SIM. Then, try restarting your phone. If issues persist, check your phone's network settings to confirm the correct network is selected, or contact your eSIM provider's customer support.
